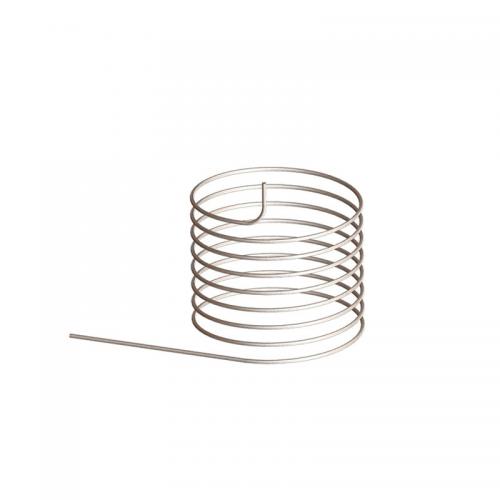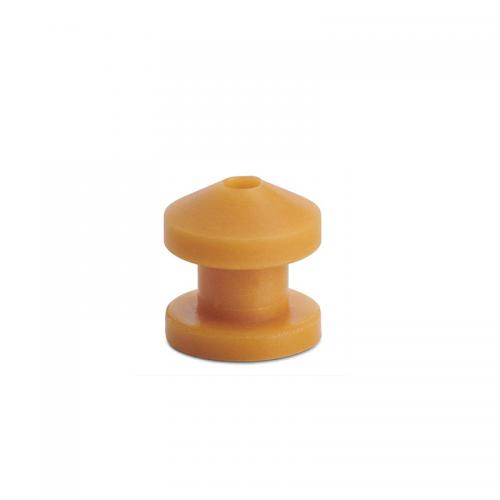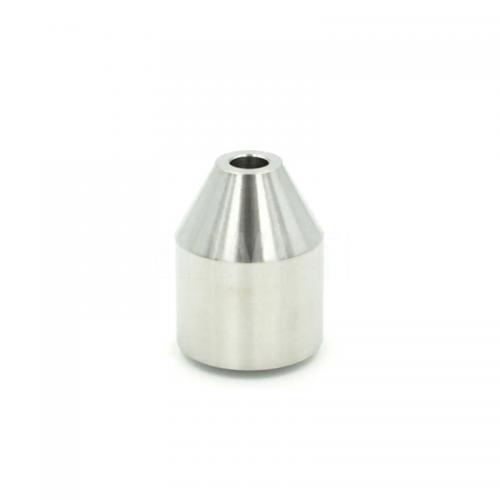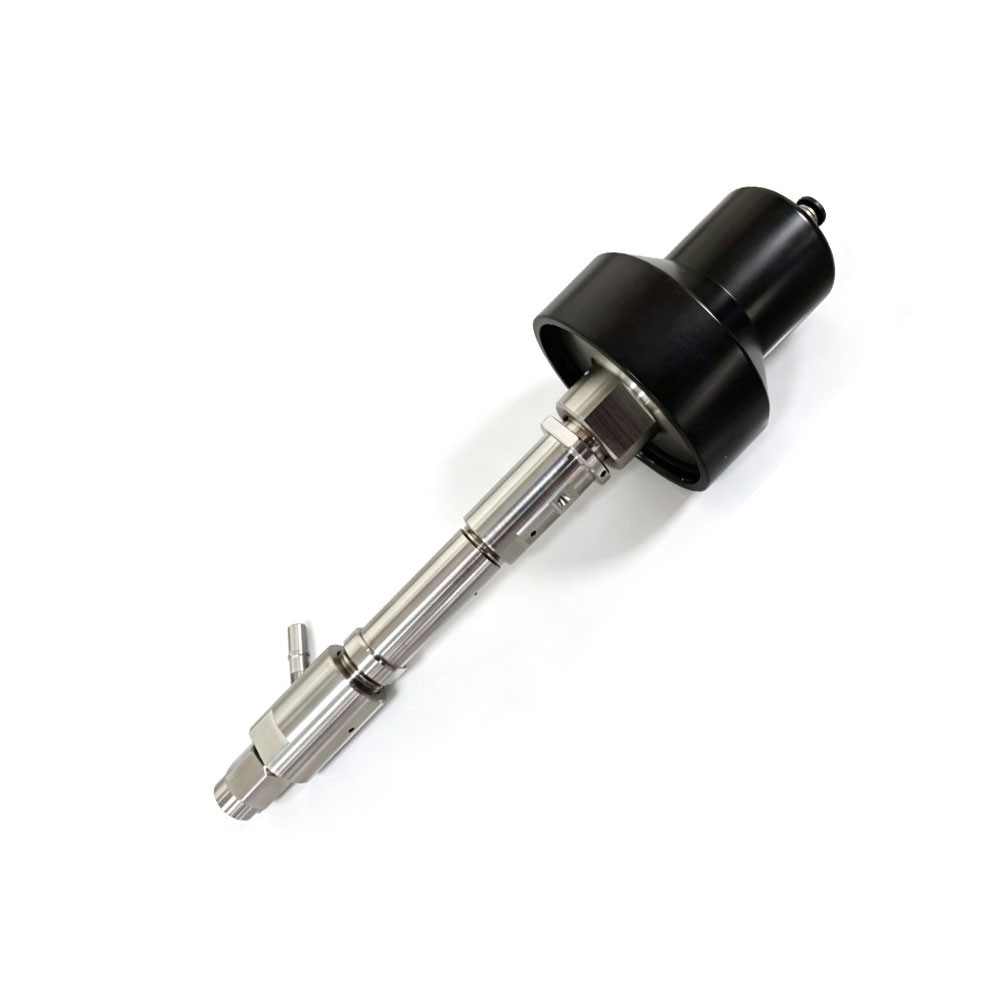
This is a practical, simple, economical 3-axis abrasive waterjet cutting head assembly with few easily damaged parts.
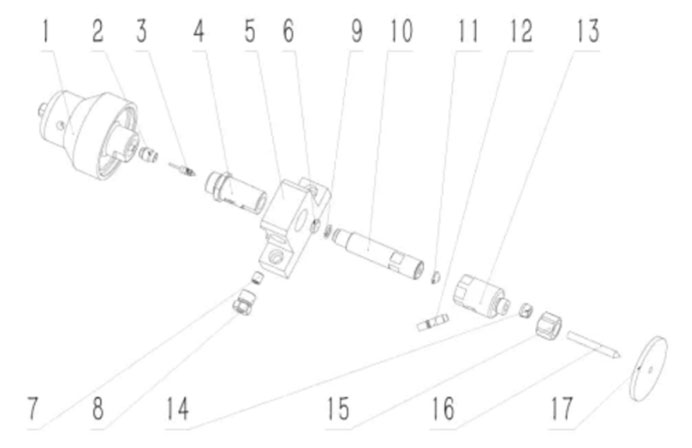
1: Cutting head actuator 2: Pressure screw 3: Cutting head seal assembly
4: Cutting head valve body 5: Cutting head bracket 6: Cutting head seat
7: Gland 8: Collar 9: O-ring 10: Cutting head nozzle body
11: Orifice 12: Inlet pipe 13: Mixing chamber 14: Collet
15: Nozzle nut 16: Nozzle 17: Dust proof
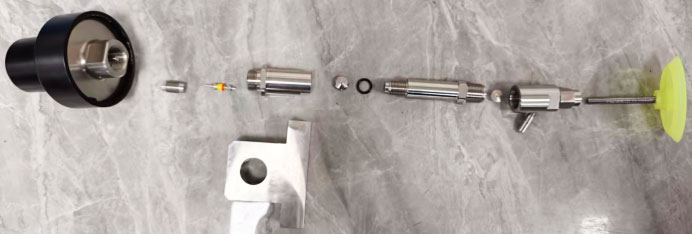
2. Leakage Analysis of the Cutting Head Leak Hole: The performance of high-pressure seals and their pipeline joints gradually deteriorates and begins to leak slowly. Leak holes are located at each threaded high-pressure pipeline joint to provide an outlet for internal leaks. If water flows from a leak hole, it indicates that the performance of one or more internal components has begun to deteriorate.
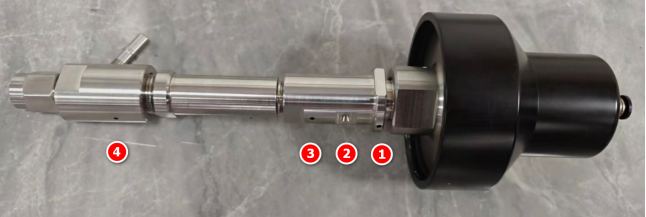
1. When leaking from leak port 1: Leaking port 1 is the cylinder sealing switch interface. Leakage indicates a poor seal between the contact parts. The sealing assembly needs to be replaced. If the problem persists, replace the valve needle. If the problem remains after replacing both, replace the water switch valve body.
2. When leaking from leak port 2: Leaking port 2 is the high-pressure water inlet. Leakage indicates a poor seal at the contact surface. If leakage persists after tightening the parts, the parts need to be replaced. Replace the 1/4 high-pressure coil. If the problem persists, replace the water switch valve body.
3. When leaking from leak port 3: Leaking port 3 is the connection between the cutter head connecting rod and the water switch valve body. Leakage indicates a poor seal between the contact parts. If leakage persists after tightening the parts, the parts need to be replaced. First, replace the valve gasket. If leakage persists after replacement, then replace the cutter head connecting rod. If the problem still persists, replace the water switch valve body.
4. When the water valve is confirmed closed on the system operation interface, but the cutting head still sprays water: This problem indicates that the cylinder valve needle is not sealing the sealing component. First, replace the sealing component. If the problem persists, replace the cylinder valve needle. If leakage still exists after replacement, the water switch valve body sealing surface is damaged. Replace the water switch valve body.
5. When air leakage occurs at the connection between the cylinder and the water switch valve body: This problem indicates that the valve needle assembly sealing ring is damaged. Replace the sealing ring and valve needle first. If the problem persists after replacement, replace the cylinder.
6. When the water valve is confirmed open or closed on the system operation interface, but the cutting head does not spray water: When this problem occurs, check if the intensifier pump can continuously produce high-pressure water. If the problem is not with the intensifier pump, the problem may lie in the valve needle and sealing component tolerance clearance being too small, resulting in a tight fit that causes the valve needle to disengage. The solution is to replace the valve needle and the sealing component.
Contact: Linda Lyu
Phone: +86 15802487169
Tel: +86 15802487169
Email: info@waterjetsupplier.com
Add: Pacific Industrial City 67-32, Shenbei Dist, Shenyang, Liaoning 110001. P. R. China
We chat






 English